Summertime means that grilling season is upon us. While grilling seems easy in concept, it is both a science and an art, and it can be tough to master for beginners. Seasoning your grill with olive oil is the first step to getting those classic grill marks on your food. Read on to discover everything you need to know about grilling with olive oil — both outdoors and indoors — plus more tips to up your grill game.
[close type="rte"] [open type="images" count="1"]
How to Season Your Grill with Oil
Before you can cook on a grill, you need to season it. You may have heard of seasoning cast iron pans. Seasoning a grill follows much the same process. Essentially, you cover the grill in a thin layer of oil and then heat it until the oil burns off. This seasoning process helps seal the grill and protect it from food particles. It also ensures that your food cooks evenly and efficiently.
Porcelain and enamel grills do not need to be seasoned before their first use, but other types of new grills do need to be seasoned before you use them for the first time. While some grillers like to leave the oils and juices from their last meal as a way to season the grill, these oils often contain food particles and juices that can go rancid or compromise the cooking process. It is always better to clean and season the grill before and after each use to get the most out of your grilling experience.
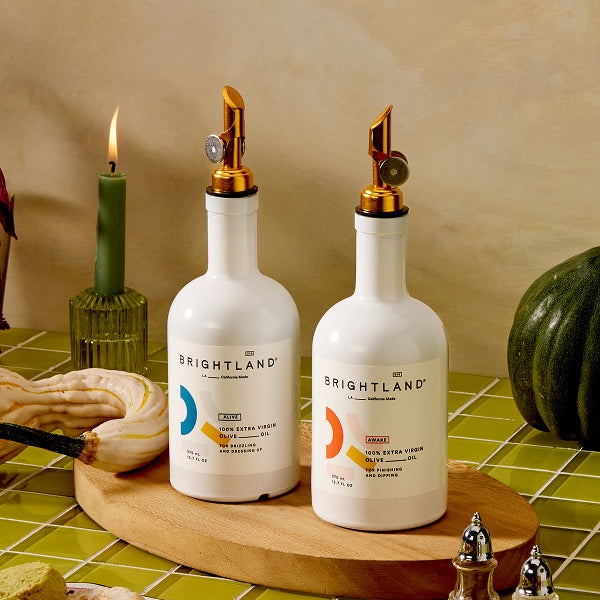
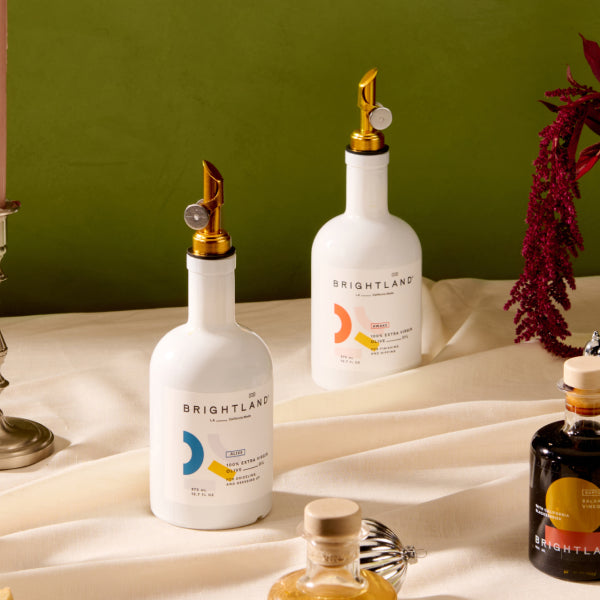
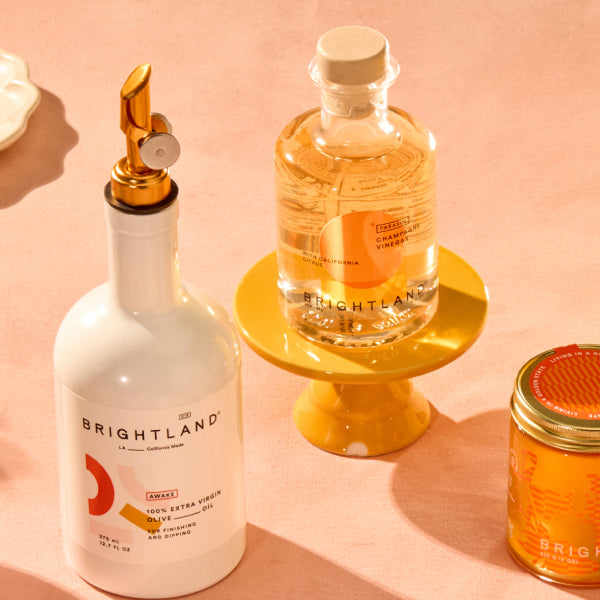
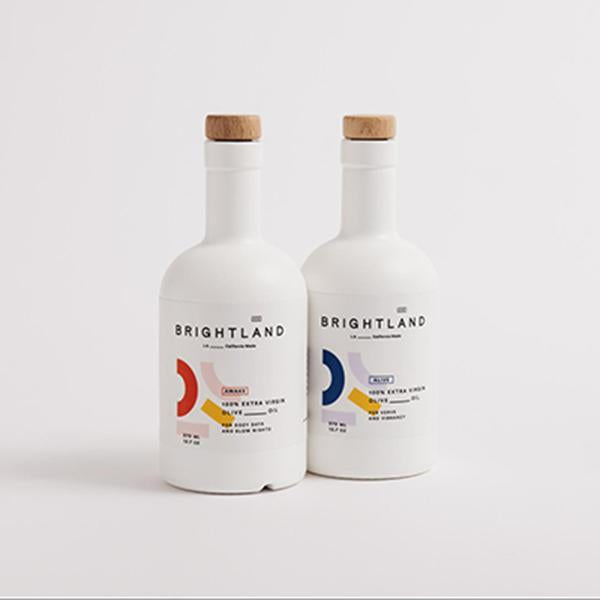
While you may have heard that olive oil does not have a high enough smoke point for grilling, certain brands of high-quality extra virgin olive oil have a smoke point of around 400 degrees Fahrenheit, which is indeed high enough for grilling. Make sure to choose California extra virgin olive oil from a domestic producer such as Brightland in order to ensure that you are getting a high enough smoke point.
[close type="rte"] [open type="images" count="1"]
Here is how to season your outdoor grill with olive oil:
1. If your grill is older and has not been cleaned in a while, then clean the grates using warm water, dish soap and/or a combination of white vinegar and baking grease. If your grill is already clean, then proceed to the next step.
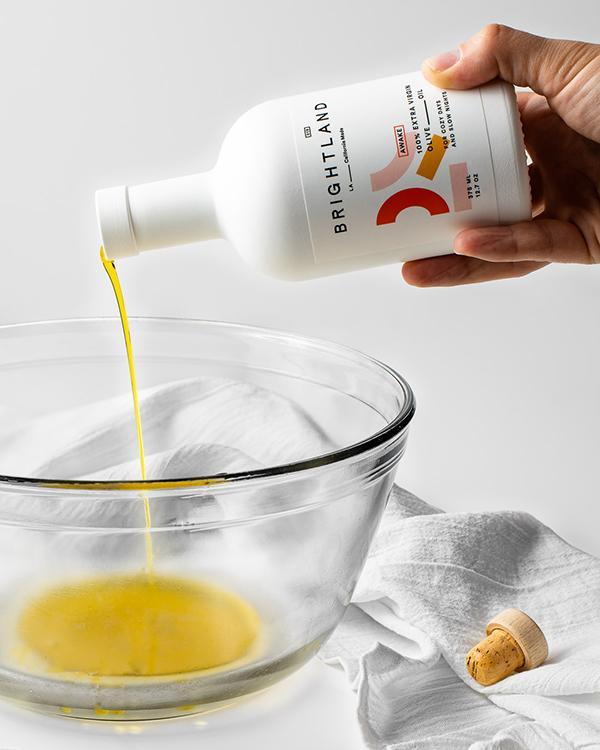
2. Coat the entire surface of the grilling grate with olive oil. Wipe any excess off with a paper towel so only a thin layer of oil remains.
3.Turn the grill on “high” and wait until the oil begins to smoke or burns off, which should take about 15-20 minutes. If your grill is brand new, wait until the oil has darkened the grate to a dark brown or bronze color.
4. Once all the oil has burned off, you can either shut off the grill or prep it to actually grill food.
5. Each time you grill out, make sure to clean off the grill using a wire brush and remove any food particles while they are still warm. This ensures that the grill is clean and ready to be seasoned prior to your next grilling session. You can also season the grill after each use if you would like.
Keep in mind that most indoor grills come with non-stick grill plates and thus do not need to be seasoned in the same way that outside grills do.
How to Use Olive Oil to Grill with Cast Iron
Maybe you do not have a grill, but you still want to experiment with grilling foods. Maybe you do have a grill, but you are a grilling novice and are worried about burning your food (or you have already fried it before). Whatever your situation, a cast iron pan is a great option to have on hand for both indoor and outdoor grilling.
If you do not have an outdoor grill, or access to one, cast iron is probably the closest substitute when it comes to indoor grilling. A cast iron pan gets very hot very quickly and holds that heat for a long, long time (and it does both of these much better than an indoor electric grill). Some cast iron pans even come with ridges in the bottom to help you mimic the grill marks from a traditional grate. Cast iron pans are also quite affordable.
You can also use cast iron on top of an outdoor grill. A cast iron pan will protect the food inside it from flare-ups and ensure that they are evenly heated, making it easy for a novice griller to create a great meal every time. Cast iron is also beneficial when grilling delicate meats, such as fish. A cast iron pan is also perfect for grilling smaller cuts of meat and vegetables that would easily slip through the cracks otherwise. With a cast iron pan, you can even grill peas on your outdoor grill and never lose a single one to the flames.
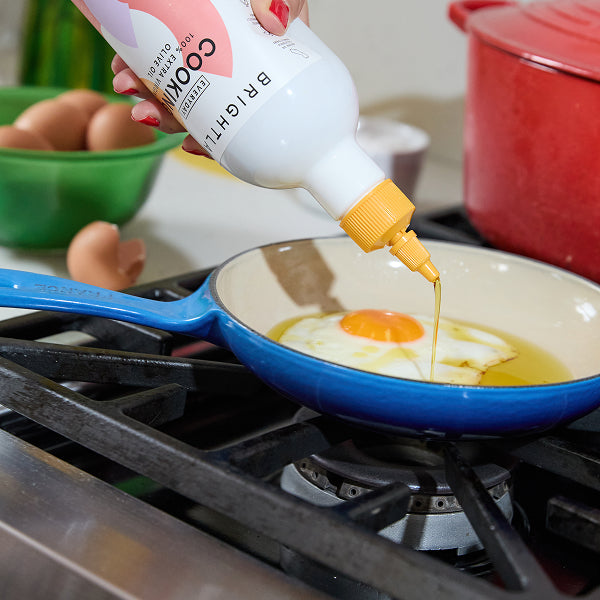
Cast iron pans need to be seasoned just like grills — if they do not come pre-seasoned or have an enamel coating. To season the pan, first clean it out. You can wash it with dish soap since you are about to season it. Cover the inside of the pan with a thin layer of extra virgin olive oil and wipe out the rest of it with a paper towel. Place the pan upside down on the middle rack of your oven and put a pan underneath it to catch the drips. Bake the pan at 400-500 degrees Fahrenheit for an hour, until all the oil has burned off.
[close type="rte"] [open type="images" count="1" small="true"]
More Tips for Grilling
Little changes can make a big difference when you are cooking. Here are some tips to help you make the most of your outdoor grill or cast iron pan:
- Preheat the grill or pan before you cook with it. Placing food directly on a cold grill or pan and then heating it will cause the food to stick and even maybe char. A cast iron pan takes five or so minutes to heat up, while a grill takes 10-15 minutes with the top closed.
- On a similar note, you should let your food rest on the counter for at least 30 minutes before grilling. Taking it straight from the fridge or freezer to a hot grill will make it cook unevenly and potentially dry out the food as well.
- Keep the grill lid closed as much as possible. This ensures that the least amount of heat is lost, which means that your food cooks faster and is easier to sear. If your food takes too long to cook, it can dry out, which is why you want to cook it as efficiently as possible. Keeping the lid down will also help prevent flare-ups by limiting the amount of oxygen the flames have access to. It also captures the smoke and creates that signature smoky flavor you can really only get on a grill.
- Always monitor your grill time and temperature. Know how long each piece of food should take to cook and use timer(s) to keep track of everything. Remember that a colder climate or a higher altitude will lengthen cook times. If the wind is blowing really hard, it will lower the temperature (and thus increase cook time) on a gas grill and do the reverse for a charcoal grill.
- Use an instant-read meat thermometer to get perfectly done meat every time. This gadget can also be used when cooking meat in the oven or on the stove, making it a very useful tool to have in your kitchen or grill kit.
- Learn how the vents on your particular grill model work. The more airflow you let the grill have, the hotter the flames will burn and the faster you will go through fuel. Double-check your vents before you grill each time and adjust as needed. [close type="rte"] [open type="images" count="1"]

- Try not to flip the food too much, which can dry out the food and make it tough. Flipping meat only once is ideal. If the meat or vegetables are still stuck to the grill, do not try to move them just yet. Once the outer layer has finished caramelizing, the food will unstick itself from the grill and you will be able to easily flip it.
- If you need to cook a really thick cut of meat, do not leave it on high heat the whole time. Sear the sides over direct heat to get that nice appearance and then move it to lower, indirect heat to finish cooking. Keep testing it with a meat thermometer until it is done.
- Do not flatten the meat or squish it with your spatula. While this may make a satisfying sizzle, it pushes juices and fats out of the meat, which can reduce the flavor and dry it out. Resist the temptation to flatten the meat and let it cook undisturbed.
- Keep a spray bottle on hand to manage flare-ups. A few quick sprays will help you keep the flames under control without having to turn down the heat.

- Most large grills give you the ability to adjust the temperature of different areas of the grill. Rather than making the entire grill one temperature, have a hotter zone and a more moderate zone. You can move food through the heat zone as they cook to avoid over- or undercooking.
- If some of your food gets done cooking early, you can keep it hot in a cast iron pan. Set the pan on the edge of the grill, away from the main flames. The residual heat of the grate will warm up the pan, but it will still be much cooler than the rest of the grill. This will keep your food nice and warm until everything is done grilling and you are ready to eat.
- Do not leave your grill or cast iron pan unattended. It takes only a few seconds for food to go from “perfectly charred” to “definitely burnt.” Keep an eye on the grill at all times, and get someone else to watch it if you do need to walk away.
- Remember that residual heat will keep the meat cooking after you take it off the grill. This could lead a perfectly grilled steak to be overdone by the time it reaches the table. Pull the food off the grill when it is just a smidge underdone to keep from going overboard.
- Add sauce at the end, if you are using it. Sauce burns off much more quickly and at a much lower temperature than the meat itself. Once you are a few minutes out from finishing your grilling, baste the sauce on the meat and let it finish cooking.
- Let the meat rest for at least five minutes before cutting into it. This will ensure that the juices have time to redistribute and that the meat will not be too hot when you eat it.

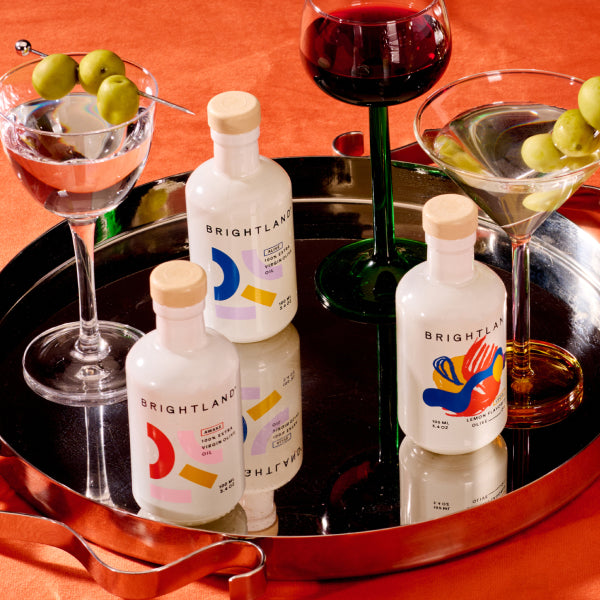
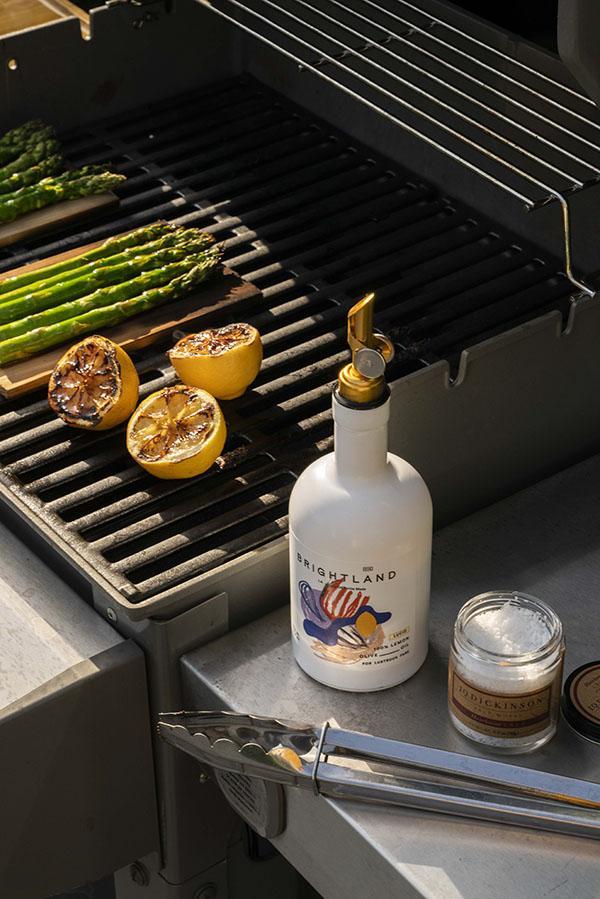
Once you are done grilling, a drizzle of fresh extra virgin olive oil, such as our LUCID lemon olive oil, could be the perfect addition to your meal to provide a delicious flavor contrast. Start browsing our olive oil selection today for the ultimate grilling experience.
[close type="rte"]
